Last updated on December 12th, 2020 at 04:14 am.
Simple Screen recorder (SSR) is a Free Screen recording software. Watch the video above to learn how to use it. The video above was recorded in SSR.
How do you use a simple screen recorder?
First of all ensure your Microphone is correctly connected on your PC. Ensure it is working and picking up sound. Speak into it and see if it is picking up waves. In Windows you can check this under Audio settings.
On Linux you can also check this under your settings. If you computer cannot pick up sound from your Mic, simple screen recorder will not be able to record sound.
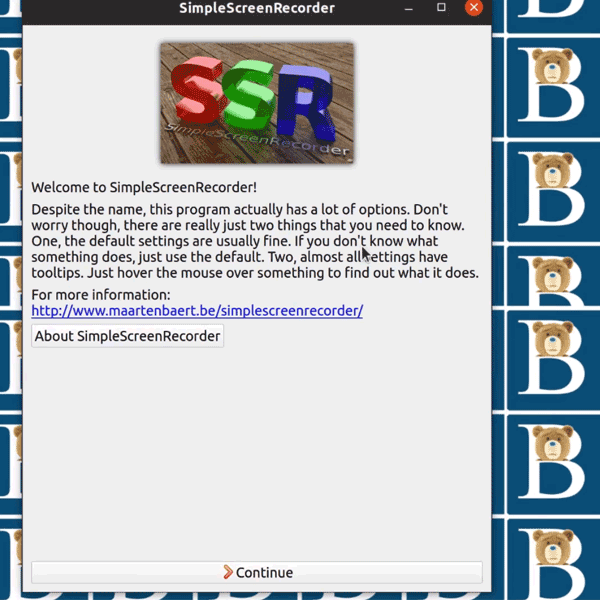
Open up Simple Screen Recorder, then click on continue.
Next choose the SSR settings . You will need to choose settings that reflect the desktop recording you would like to do. You can record your entire screen . You can also draw the area of your screen you would like to record. this depends on the setting you choose as shown in the screenshot below.
Look at the image below:
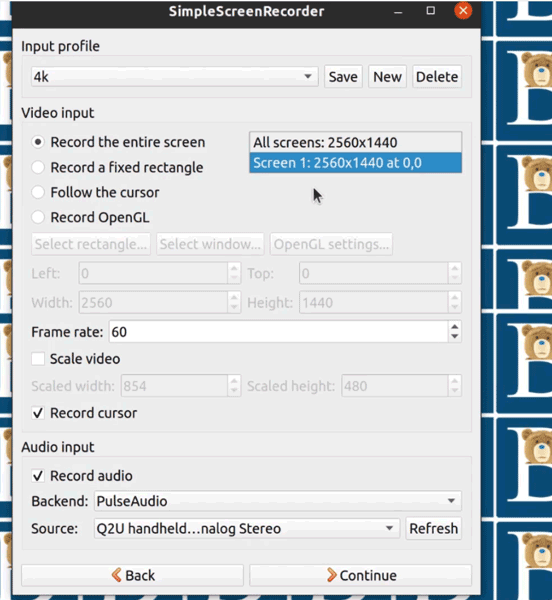
As shown in the above screenshot, select Record Audio. Then choose the Mic you want to use.
Then, click continue.
Next step, choose the output File location, video format and audio settings. If you don’t know what settings to use, just use the same settings as shown in the Screenshot below.
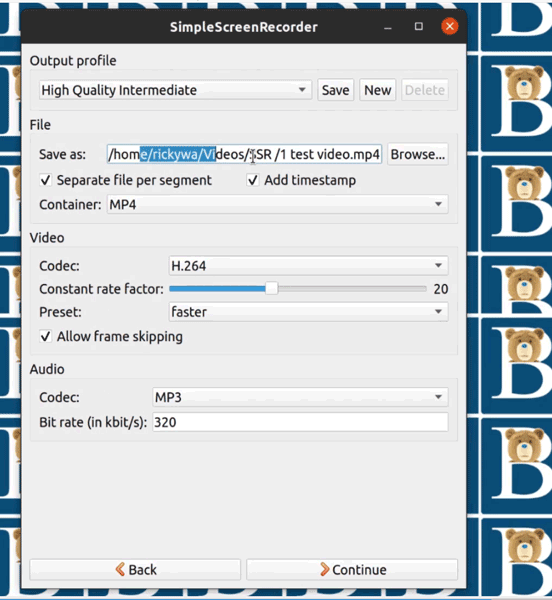
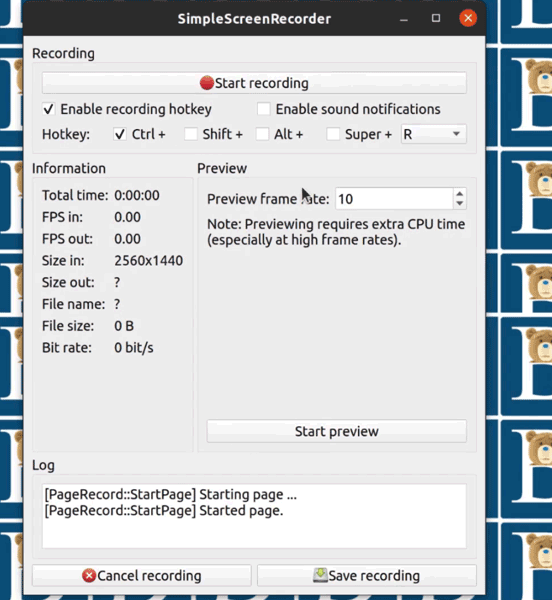
Once you choose the correct settings as above, click continue. You are finally ready to start recording. to begin recording your screen just click on Start recording.
When done recording, click on Save recording and that will end the recording. You can also cancle the recording byclickng on cancel. Check the screenshot below.
That’s how to use the SimpleScreenRecorder to record your desktop. You can read more about Screen recorder on its official website.
Watch this Free Camtasia Tutorial.

