Last updated on January 1st, 2020 at 11:16 am.
Change the default Vesta Port from 8083
This short post will show you to change the default Vesta port from port 8083 to port 2053. You could change your port number to any other number provided it is not being used by any other applications.
Watch the video above for a step by step guide on how to change the Vesta port number.
In brief the steps to change your port are:
- Add the new port on VestaCP
- Edit Nginx to Listen to the new port
- Restart vesta
- Delete the old port, 8083 .
#1 Log into your Vesta Control Panel
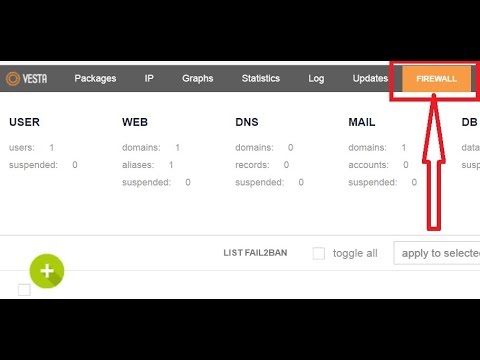
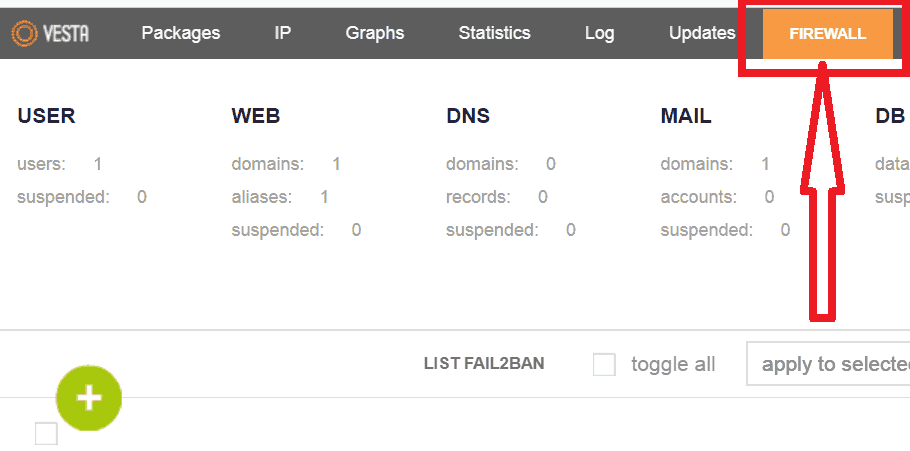
#2 Click on Firewall on Your Vesta menu
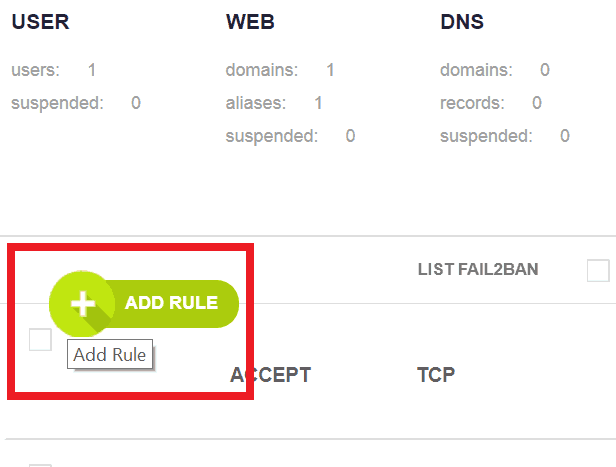
#3 Click on the Green Plus button to add the New Port
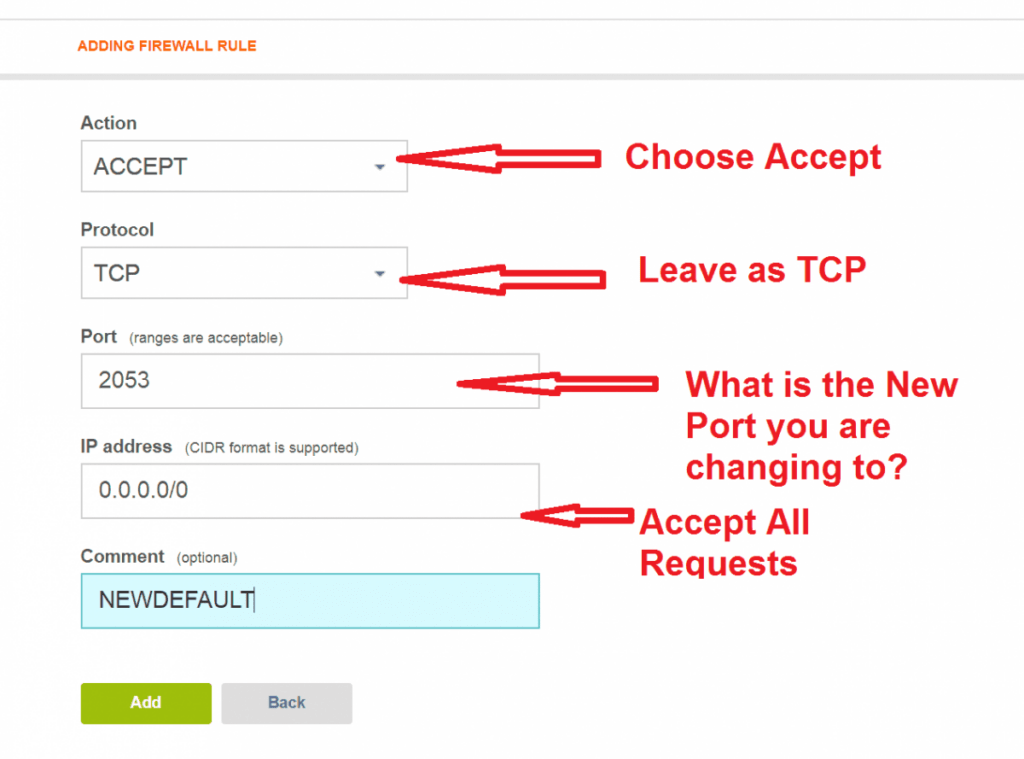
#4 I will be changing my port to 2053. For the New port Add the details as follows:
Action: ACCEPT
Protocol: TCP
Port: 2053
IP Address: 0.0.0.0/0
Then click Add, to add the new port to your Firewall.
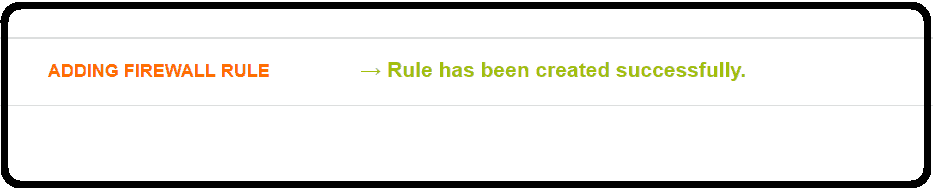
Once you click Add and the Port is added successfully:
#5 Next, edit NGINX to listen to the new port, in my case it is 2053 .
Use the command below to edit NGINX config file via the Nano editor. Note that this Vesta is running on Centos 7.5 .
sudo nano /usr/local/vesta/nginx/conf/nginx.conf
Scroll down till you see the part that says,
listen 8083;
Then change it to
listen 2053;
Then exit out of nano Editor, by pressing CTRL X , then Y , then press Enter.

Then restart Vesta using the Command below.
sudo service vesta restart
Now log into your VestaCP using the new port as follows.
Your-IP-Address:2053
Finally you may delete the old port, 8083 .
To delete the port 8083 from your Firewall, just click on Firewall on your Top Menu within Vesta.
Then hover over port 8083 and delete it.

That’s how to replace port 8083 on VestaCP. If you want to use VestaCP via Cloudflare then, this may be necessary process for you since Cloudflare does not filter traffic from port 8083. Here is the list of supported ports on Cloudflare. You may change your Vesta Default port to any other available port.
Not sure if VPS is the way to go? Check out the Web Hosts I recommend.
Download Vultr Tutorial Setup PDF
1. Download Vultr Tutorial Setup PDF
2. How to create a Swap File in Centos 7


